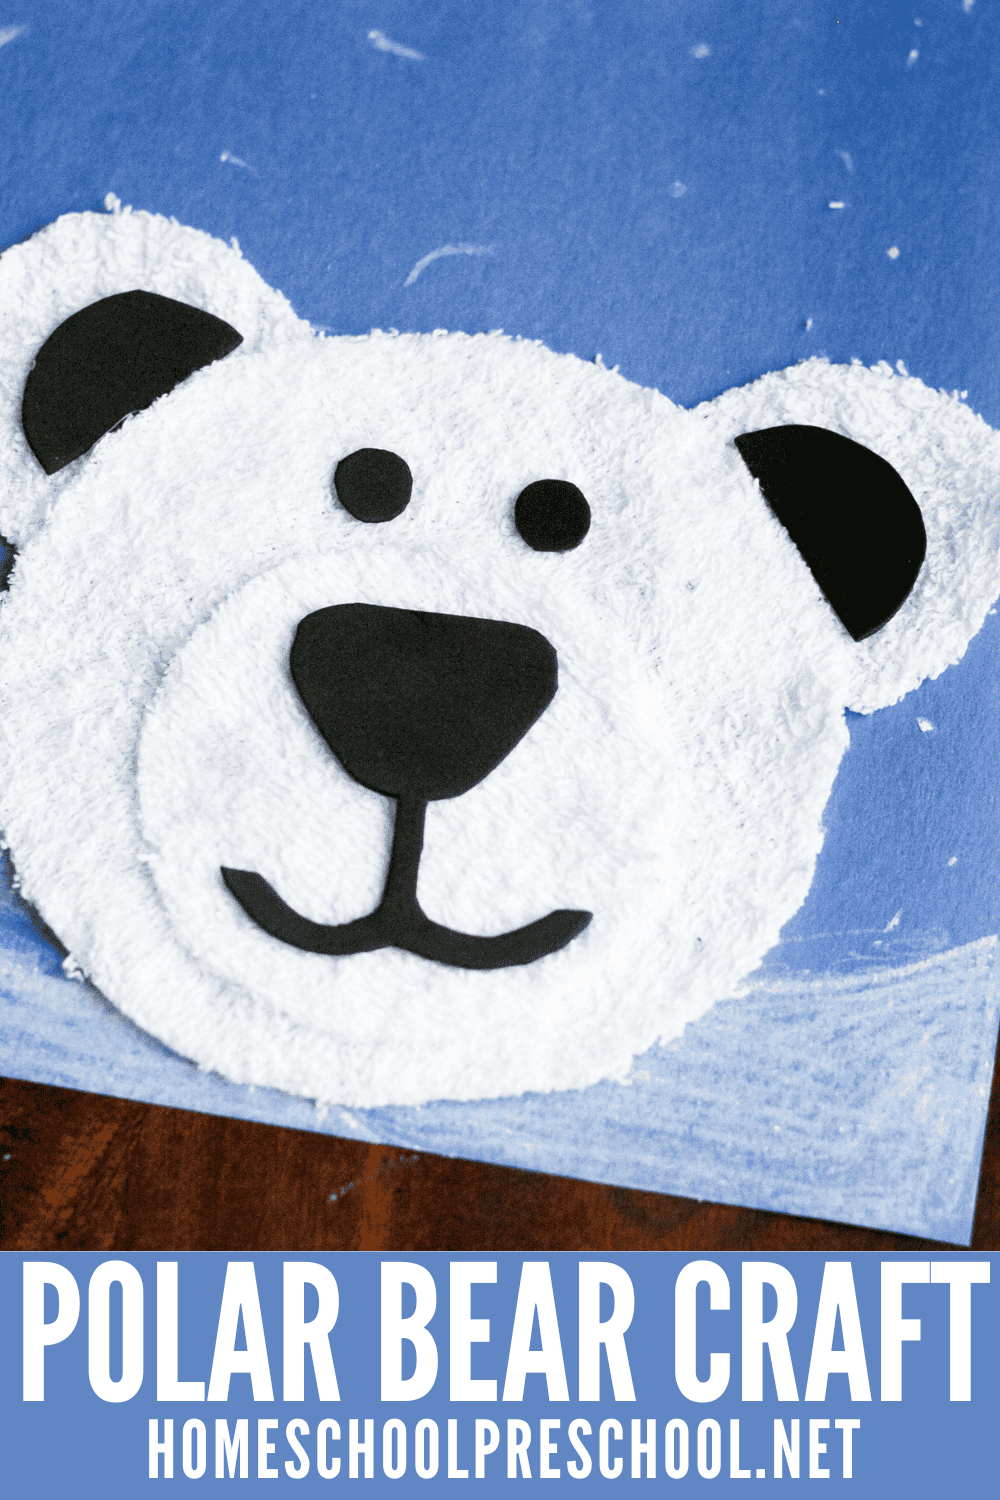
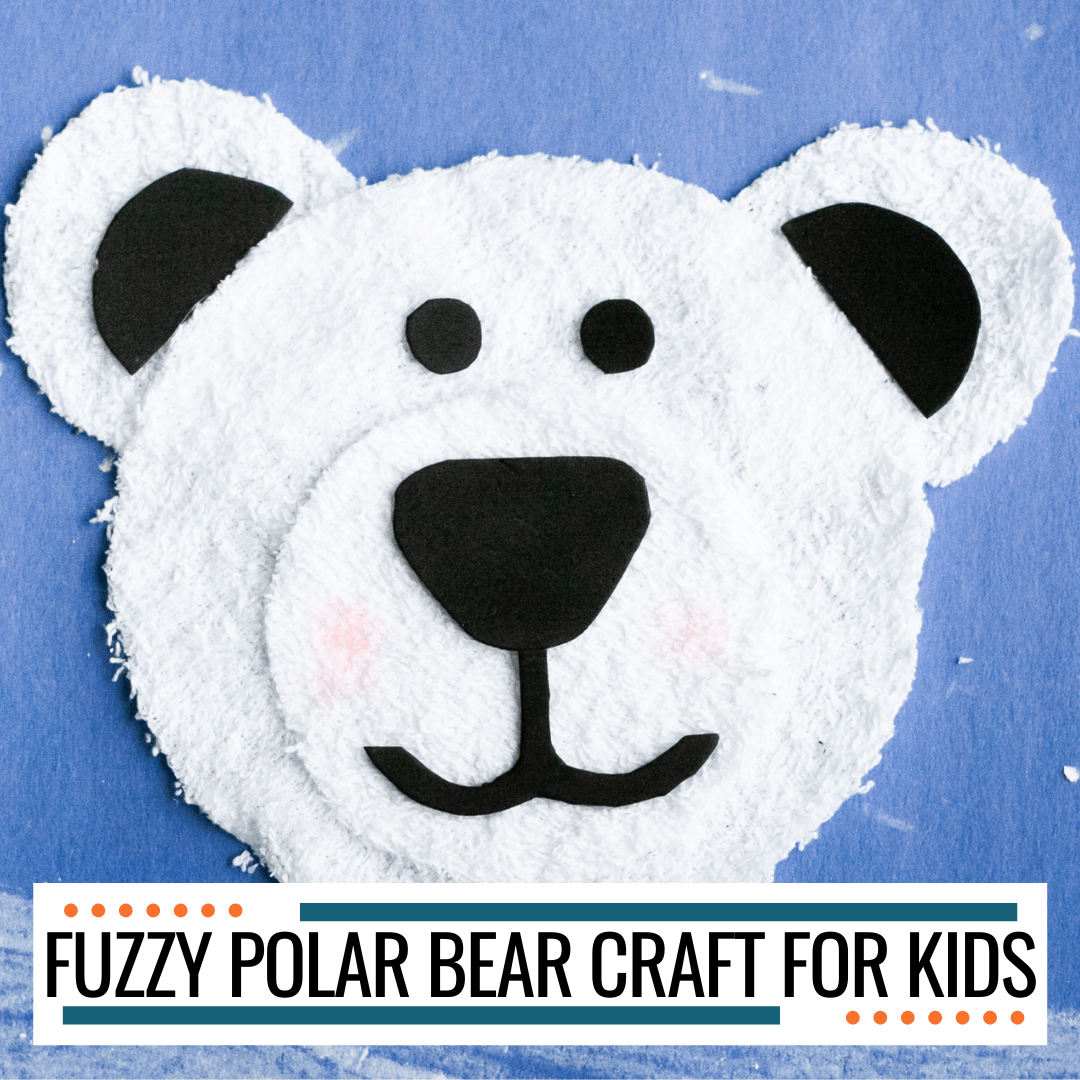
Polar Bear Craft for Preschool (Easy Washcloth Winter Craft)
This polar bear craft for preschool uses a simple white washcloth to create a soft, textured winter animal kids love to make. I like pairing it with other polar bear activities for preschoolers because it’s easy to prep, hands-on, and gives kids a chance to explore arctic animals through making, not just coloring.
It works well for winter themes, polar animal units, or anytime you want a simple craft that feels a little different from paper projects.
Washcloth Craft At a Glance
• Activity Type: Hands-on preschool craft
• Theme: Polar bears, arctic animals, winter
• Materials: White washcloth, glue, black paper or felt, wiggle eyes (optional)
• Skills Practiced: Fine motor skills, following directions, creative expression
• Prep Level: Low prep
• Best For Ages: Preschool (3–5)
Polar Bear Washcloth Craft for Preschool
Winter is a great time to explore arctic animals with preschoolers, and polar bears are always a favorite. This simple polar bear craft fits naturally into winter themes and gives kids a hands-on way to connect what they’re learning to something they can make.
As children create their polar bear, they’re not just crafting — they’re building awareness of arctic habitats and the animals that live there in a way that feels doable and age-appropriate.
What You’ll Need
This polar bear craft is easy to prepare. With just a few basic supplies, you can set everything up and get started right away.
- scissors
- pencil
- black sharpie
- (1) 11”x11” white washcloth
- 1 thin black foam sheet
- hot glue gun/glue
- light pink washable marker
- blue construction paper (optional)
- white crayon (optional)


How to Make a Polar Bear Craft
Now that we have our craft supplies ready, it’s time to put them to good use. Remember, the goal here is to enjoy the process and create something beautiful.
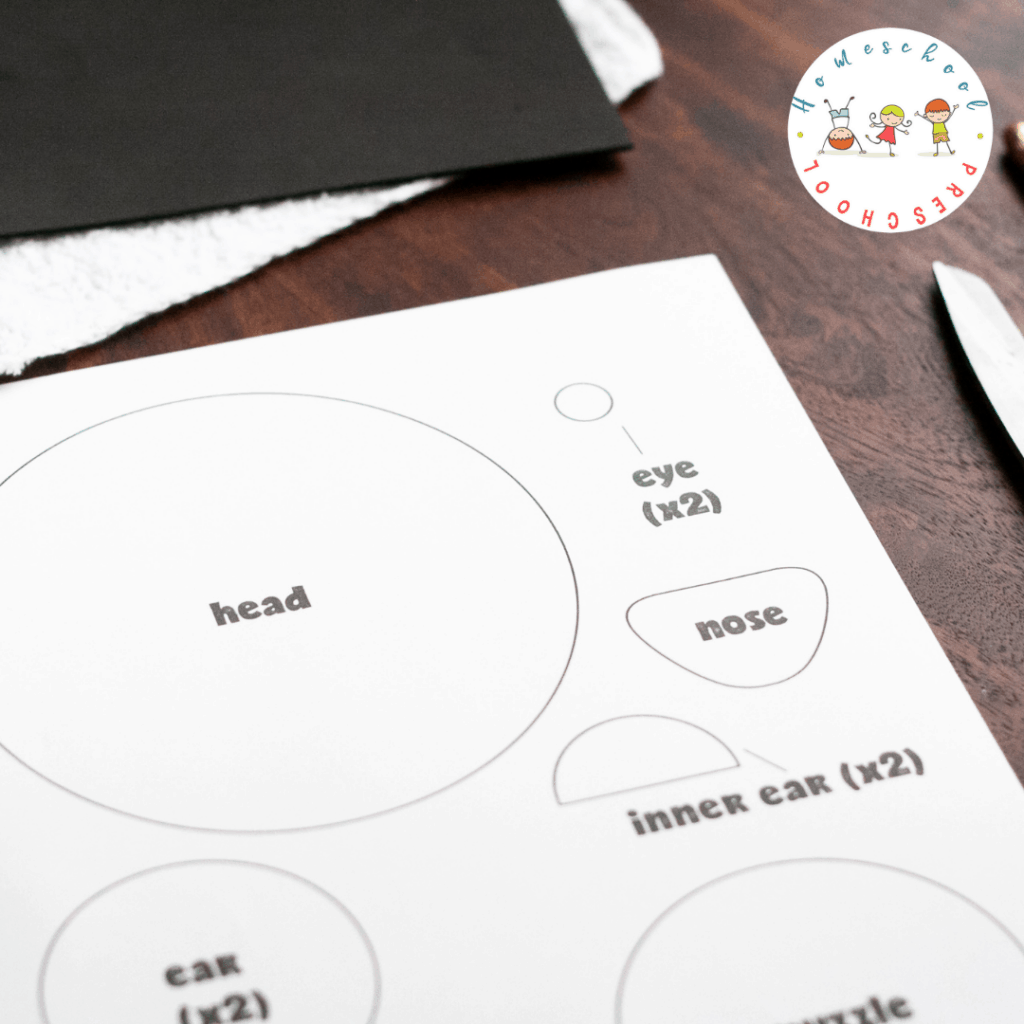
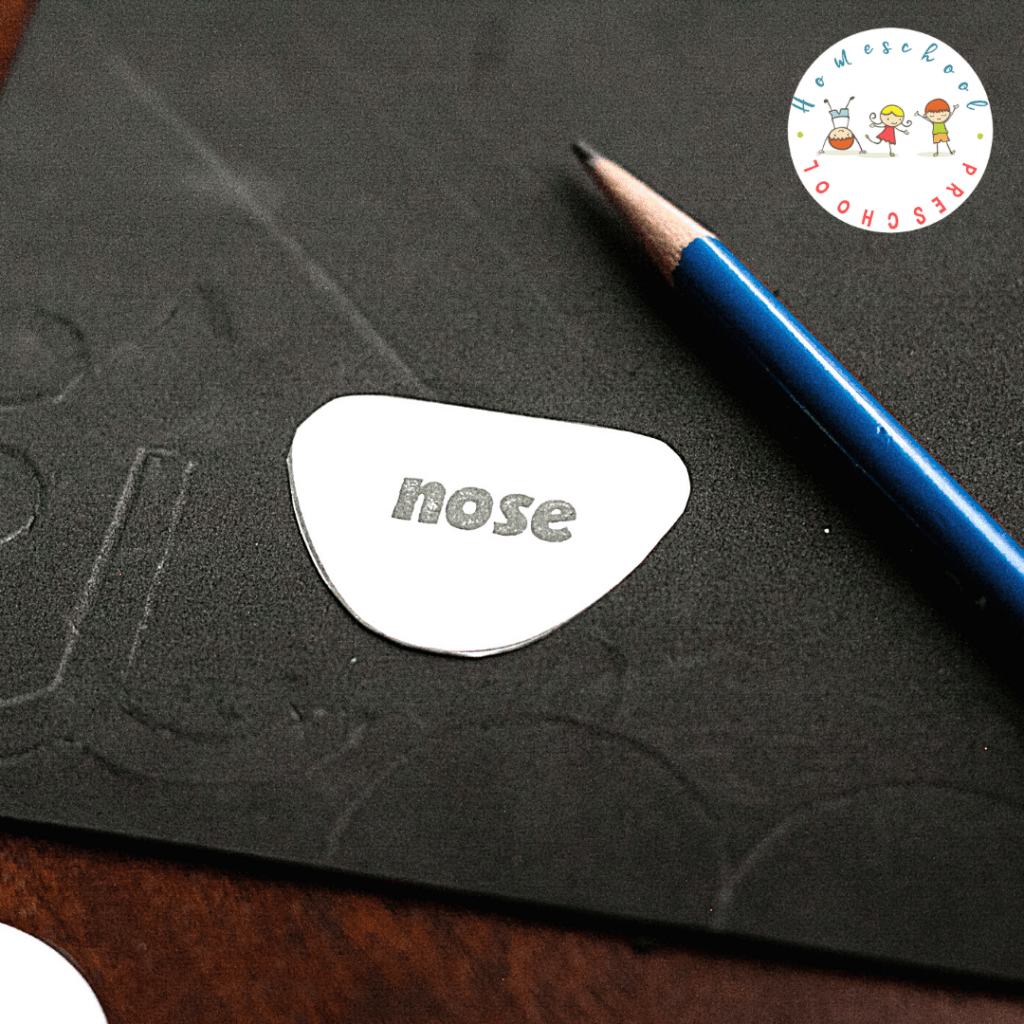
To start, download, print, and cut out the template pieces. Trace the inner ear (x2), eye (x2), nose and mouth on the black foam with a pencil, and then cut out all pieces.
Trace the head, ear (x2), and muzzle on the white washcloth with a black sharpie. Now, cut out all of the pieces.
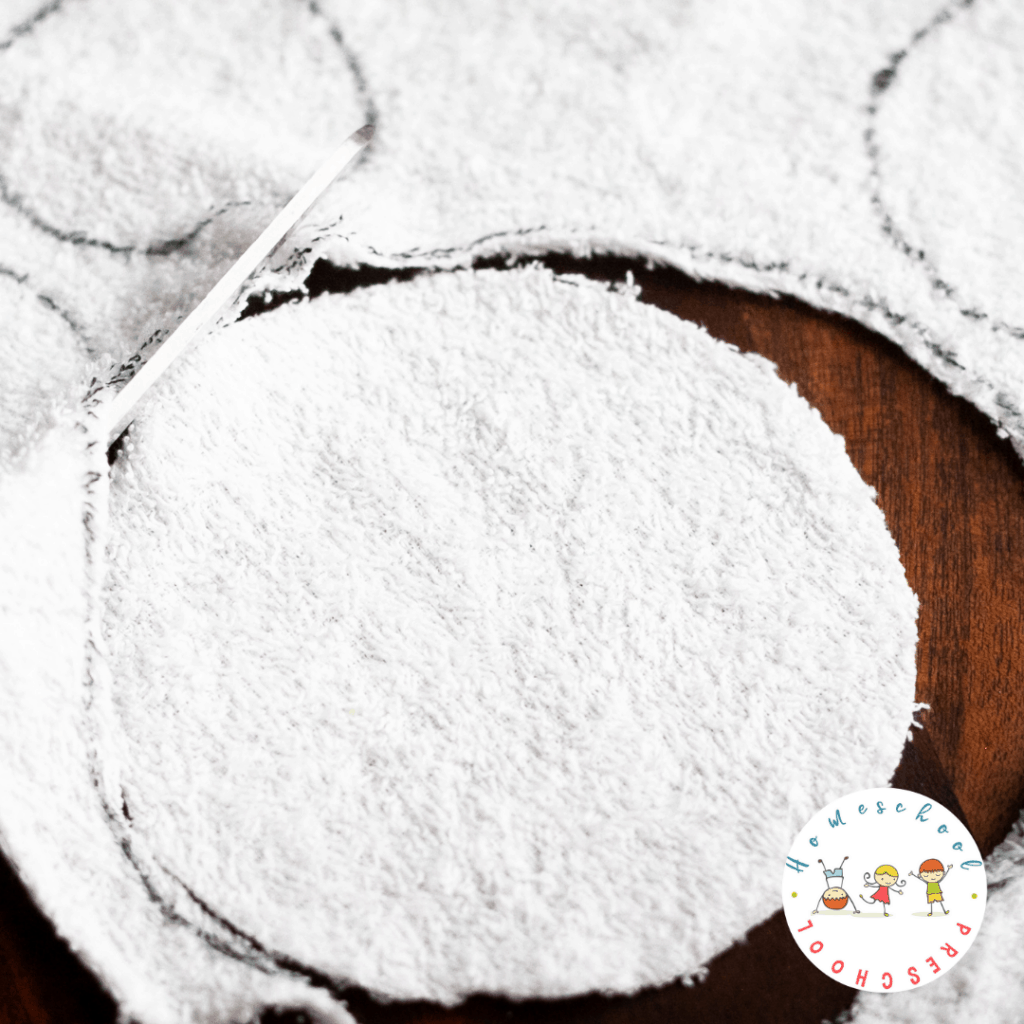
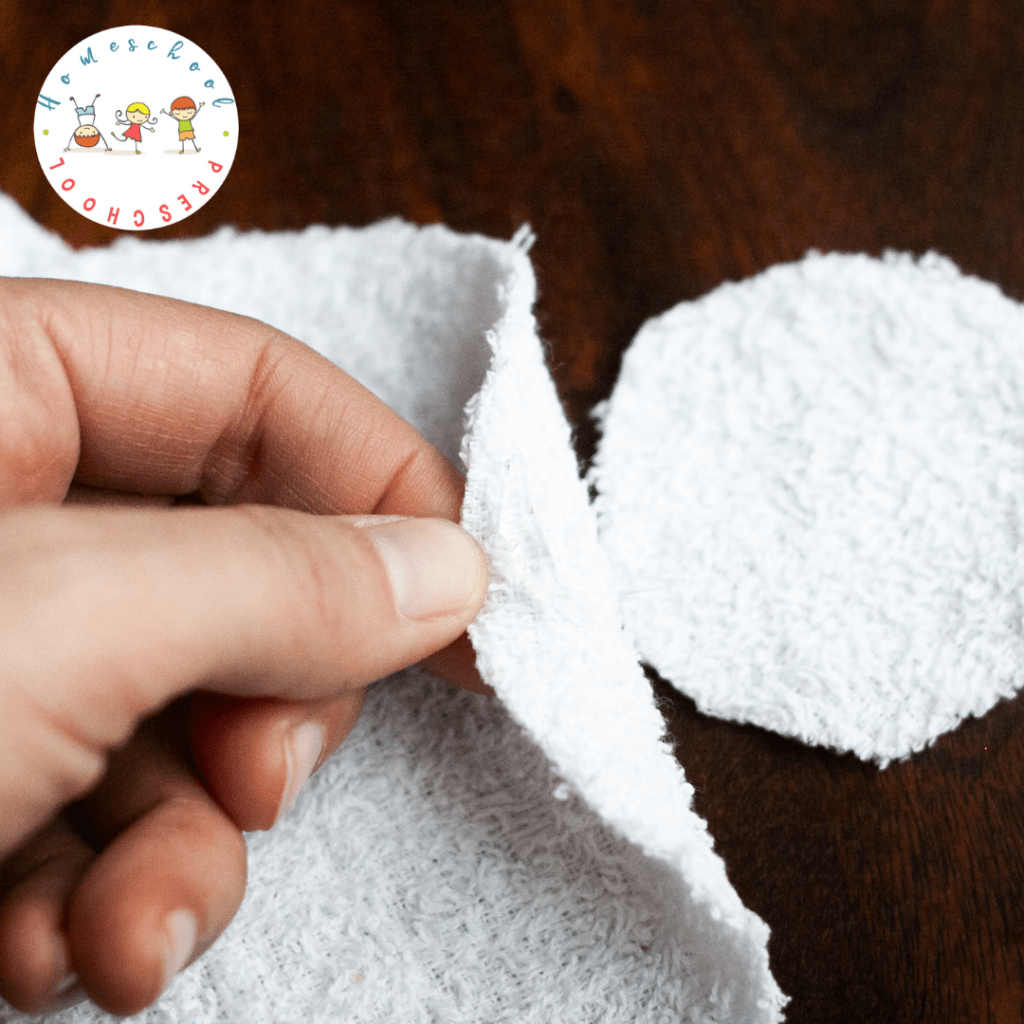
Place the ear pieces behind the head piece where the polar bear’s ears would be.
Secure ears with hot glue behind the head overlap. Use caution while gluing and repeat on the other ear. This ensures a secure hold.
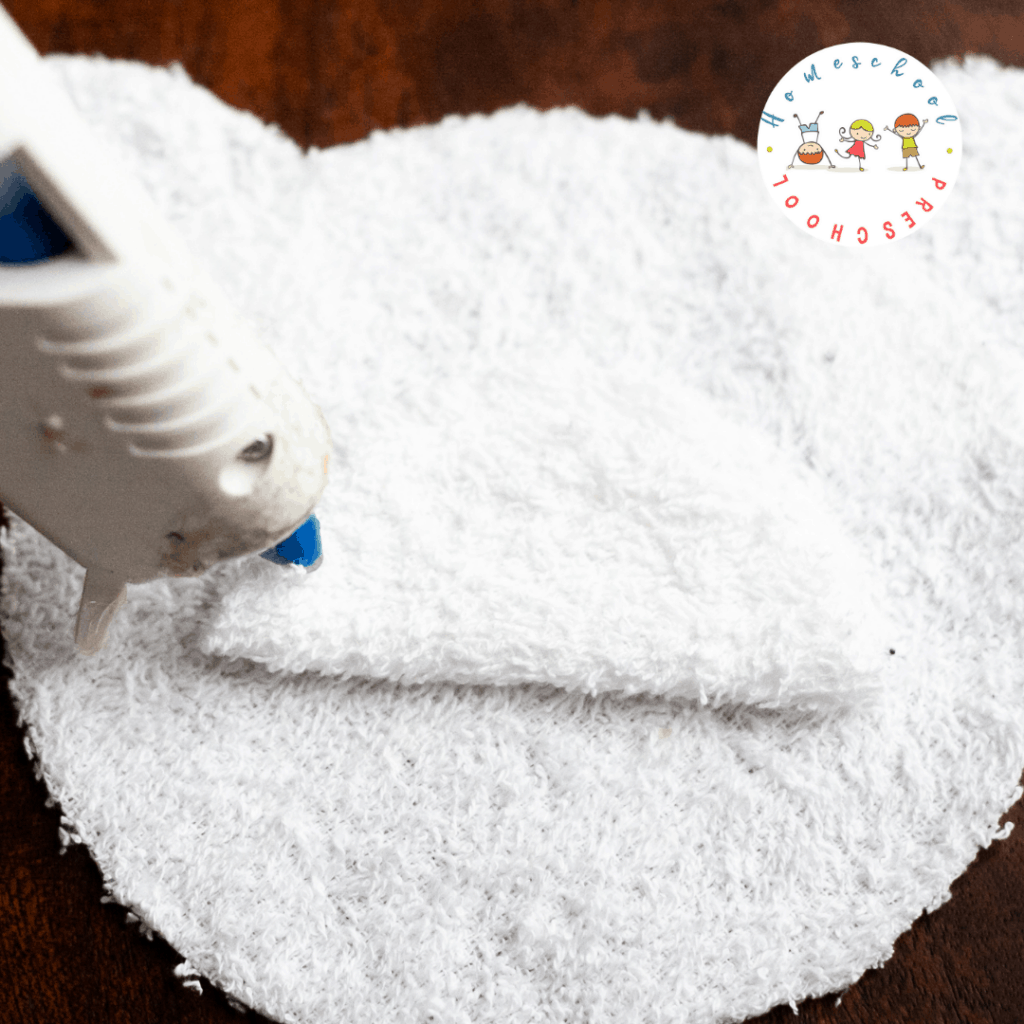
Place the muzzle in the lower middle part of the face, about ¼”- ½” above the bottom edge of the face.
Fold one half of the muzzle over, put a thin line of hot glue around the edge, fold it back down and press down. Repeat on the other half of the muzzle.
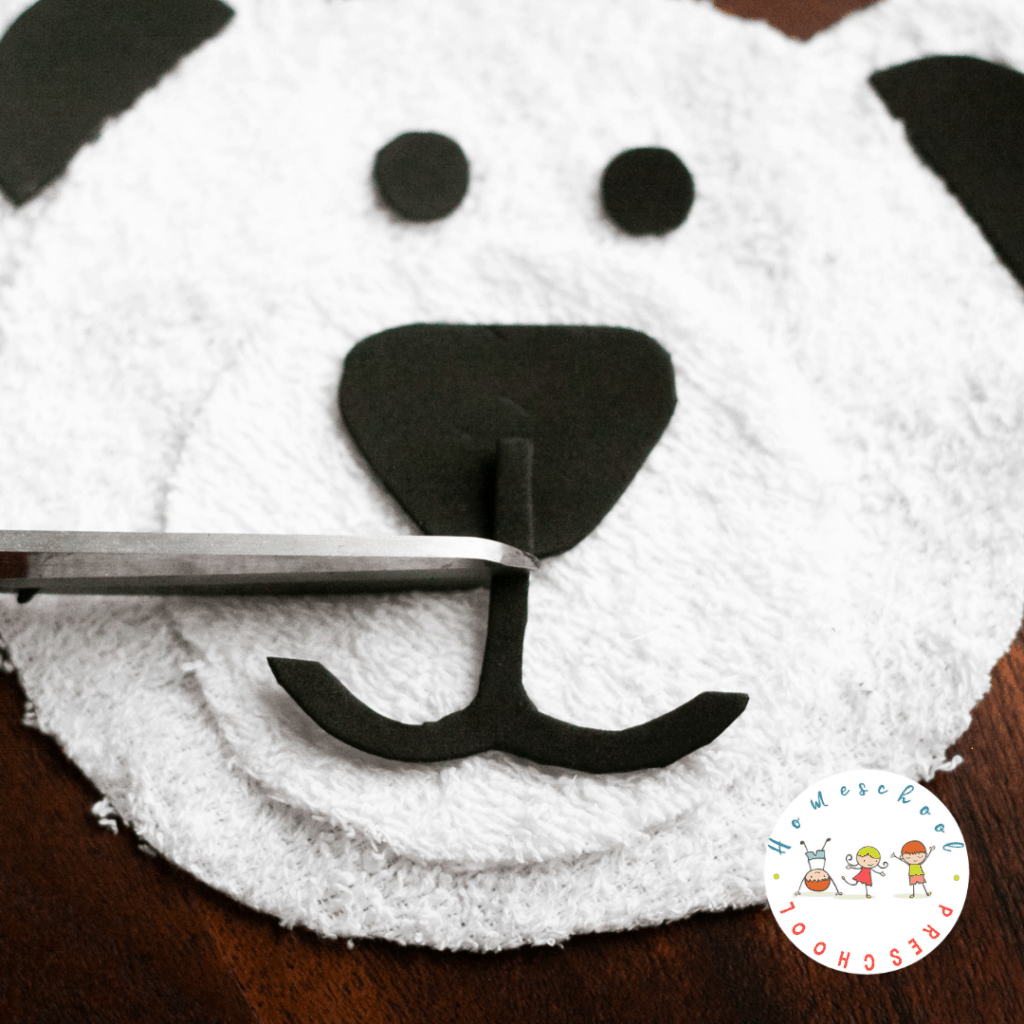
Hot glue the foam inner ear pieces, the eyes, the nose and then the mouth onto your washcloth polar bear. Trim the top line of the mouth if needed.
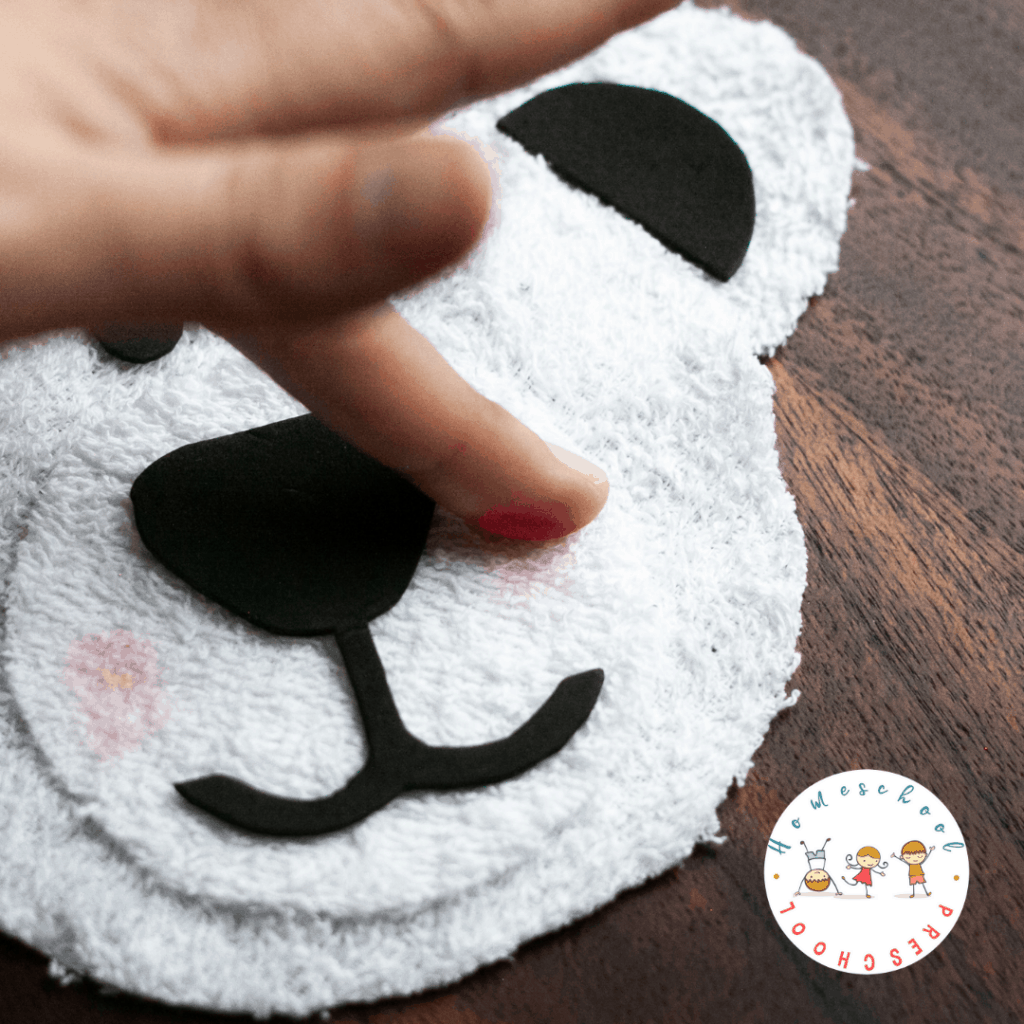
Use your fingertip like a stamp. Color it with a light pink marker, then stamp rosy cheeks onto the polar bear.
Repeat until your polar bear’s cheeks are perfectly rosy 🙂
Color a snowy background on some blue construction paper and mount your polar bear on it if you want to!
NOTE: If you’d prefer, you can use construction paper for this entire craft instead of a washcloth and craft foam. If you do, you won’t need the hot glue gun. You’ll want glue sticks on hand.
Polar Bear Books for Kids
If you’d like to pair this craft with a story, these polar bear books work well for read-aloud time before or after crafting.


This polar bear washcloth craft is an easy way to add something hands-on to your winter or arctic animals theme without overthinking it. I like having activities like this ready because they’re simple to set up, engaging for preschoolers, and flexible enough to use alongside books or other polar bear activities.
Whether you’re crafting on a snowy afternoon or adding one more idea to your polar bear unit, this activity is a practical option you can actually use the same day.
Grab the polar bear craft template here.

Polar Bear Craft
Equipment
- printer/paper
- Scissors
- Pencil
- sharpie
- hot glue gun/glue sticks
- pink marker
- white crayon
Materials
- white washcloth
- thin black craft foam
- blue construction paper
Instructions
- Download the polar bear template, print, and cut out the pieces.
- Trace the inner ear (x2), eye (x2), nose and mouth on the black foam with a pencil; cut all pieces out.
- Trace the head, ear (x2), and muzzle on the white washcloth with a black sharpie; cut all pieces out.
- Glue the ears behind the head.
- Place the muzzle in the lower middle part of the face, about ¼”- ½” above the bottom edge of the face.
- Fold one half of the muzzle over, put a thin line of hot glue around the edge, fold it back down and press down. Repeat on the other half of the muzzle.
- Glue the foam inner ear pieces, the nose, the eyes, and the mouth onto the washcloth. Trim the top of the mouth piece if necessary.
- Color your fingertip with the pink marker, and stamp rosy cheeks on your polar bear face.
- Glue the polar bear on a sheet of blue construction paper and draw a snowy background with a white crayon.

Tara is the brains behind Homeschool Preschool, where her journey from preschool and public school teacher to homeschooling mom of three fuels her passion for early childhood education. With a blend of expertise and firsthand experience, Tara’s writings offer practical tips and engaging resources to support families in creating meaningful learning adventures at home.


He’s super cute, thank you! My grandsons will love putting this together.