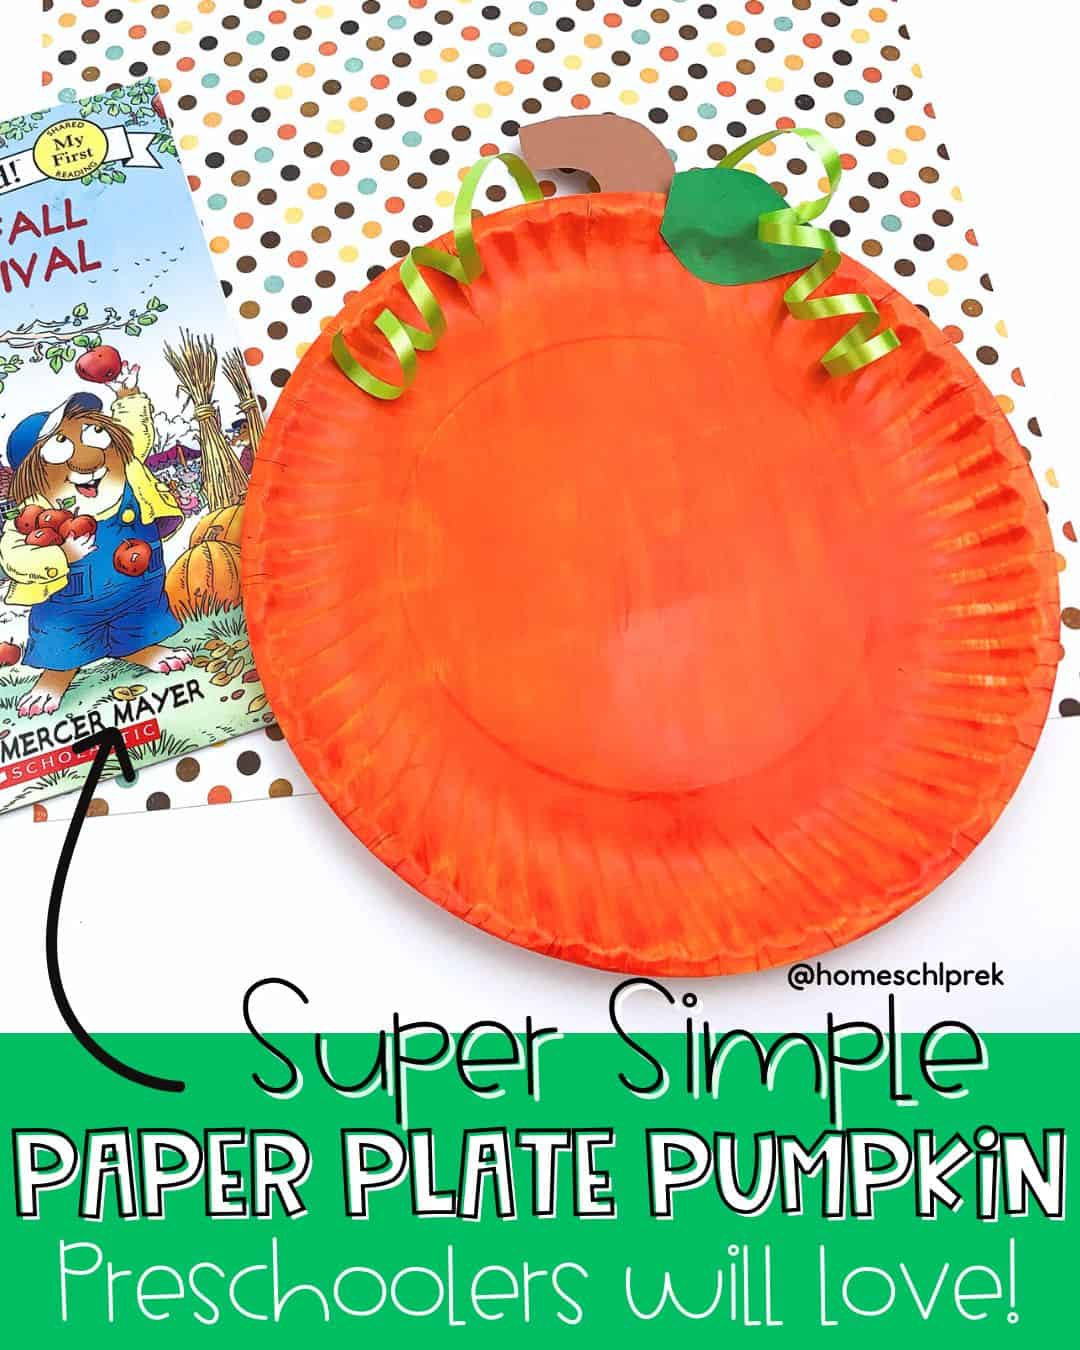
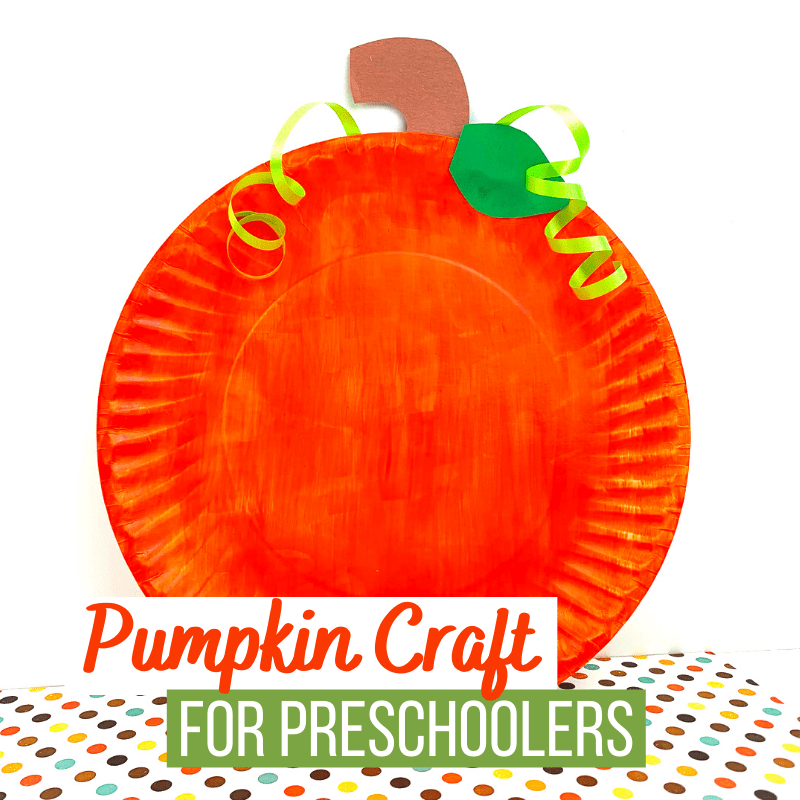
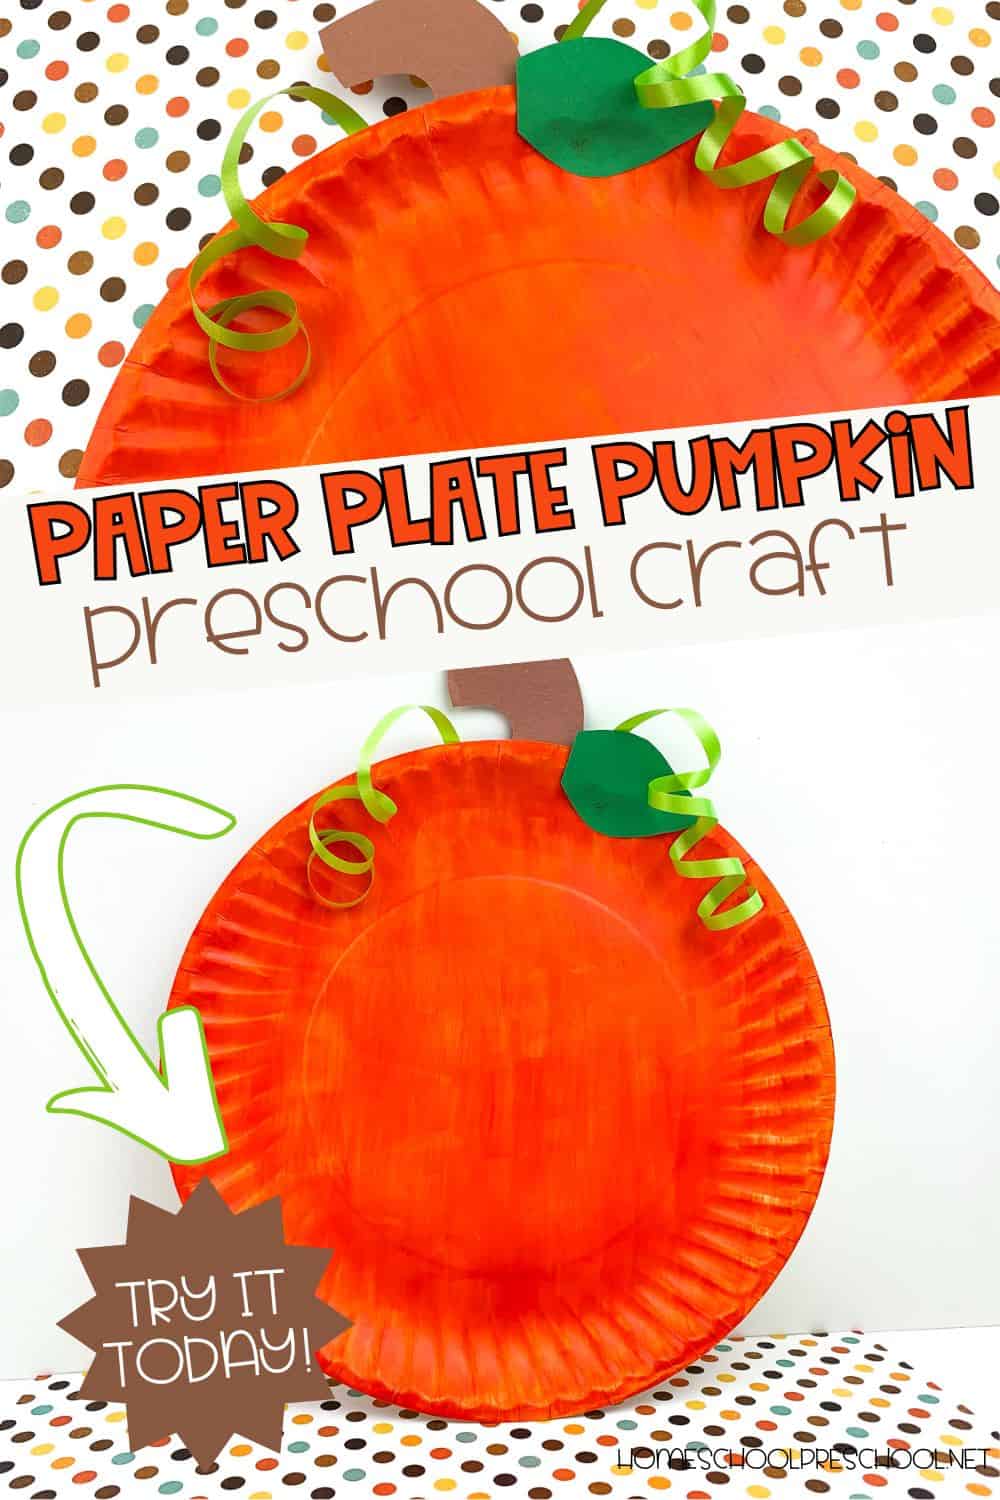
Pumpkin Paper Plate Craft
If you’re looking for an easy pumpkin paper plate craft to add to your fall lineup, this is it! Perfect for busy days, this no-fuss activity uses simple supplies you probably already have on hand. It’s a great addition to your preschool arts and crafts collection—ideal for home, classroom, or co-op learning.
With just a little paint and paper, little ones can create their very own pumpkins while strengthening fine motor skills, following directions, and expressing creativity. Whether you’re teaching a pumpkin theme or just soaking in the season, this craft is a guaranteed hit.
Pumpkin Paper Plate Craft
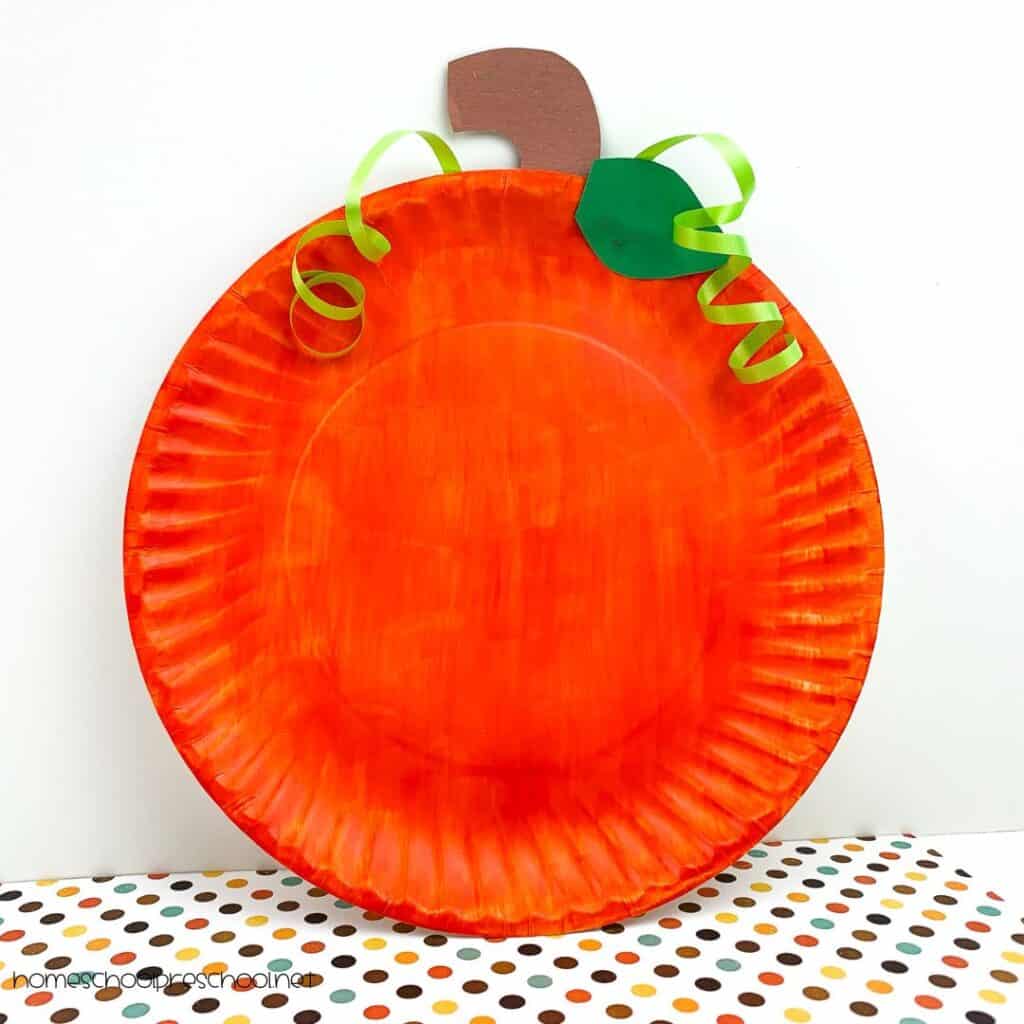
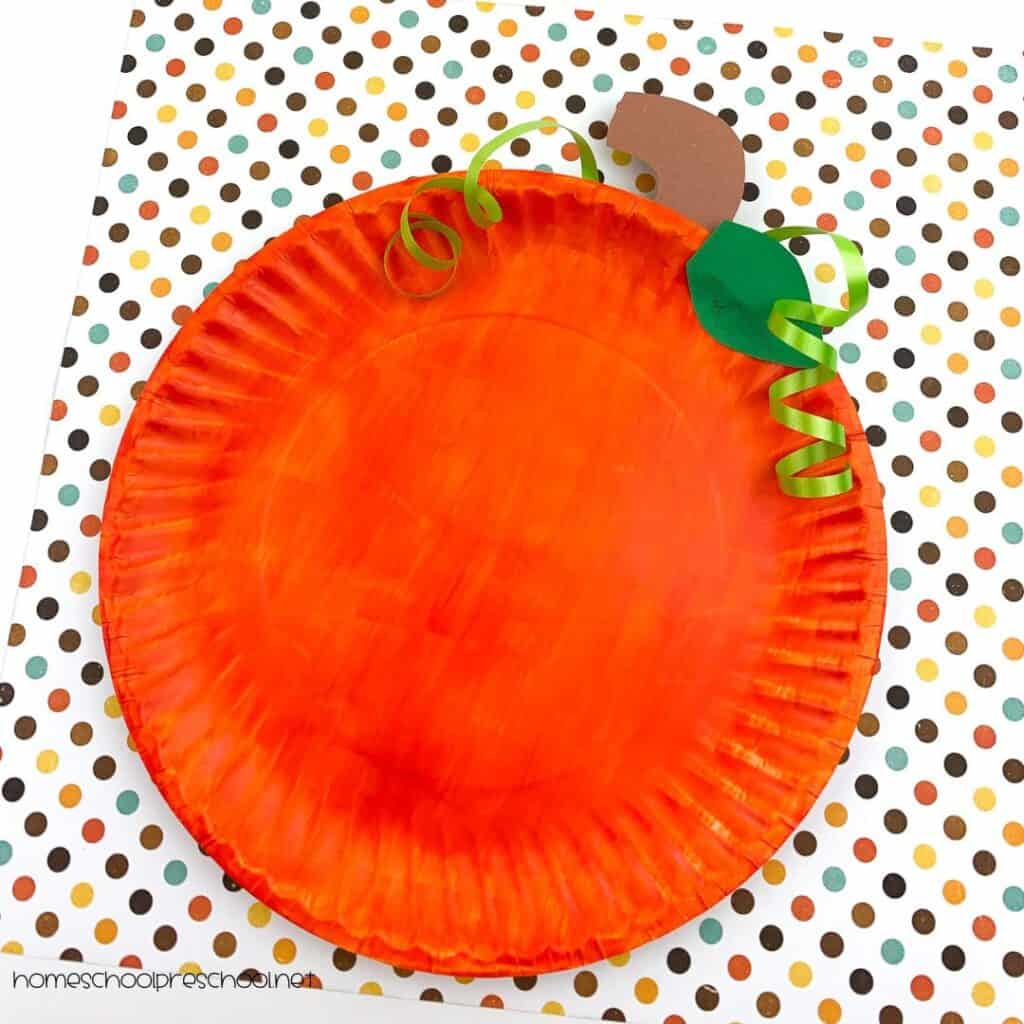
This pumpkin plate craft starts with a simple orange-painted plate and turns into a bright, seasonal keepsake. After painting, kids will cut and glue a green stem and leaf, then add their own creative touches like curly pipe cleaner vines or fun fall decorations.
It’s a quick win for little hands and a fun way to bring pumpkins into your preschool arts and crafts routine.
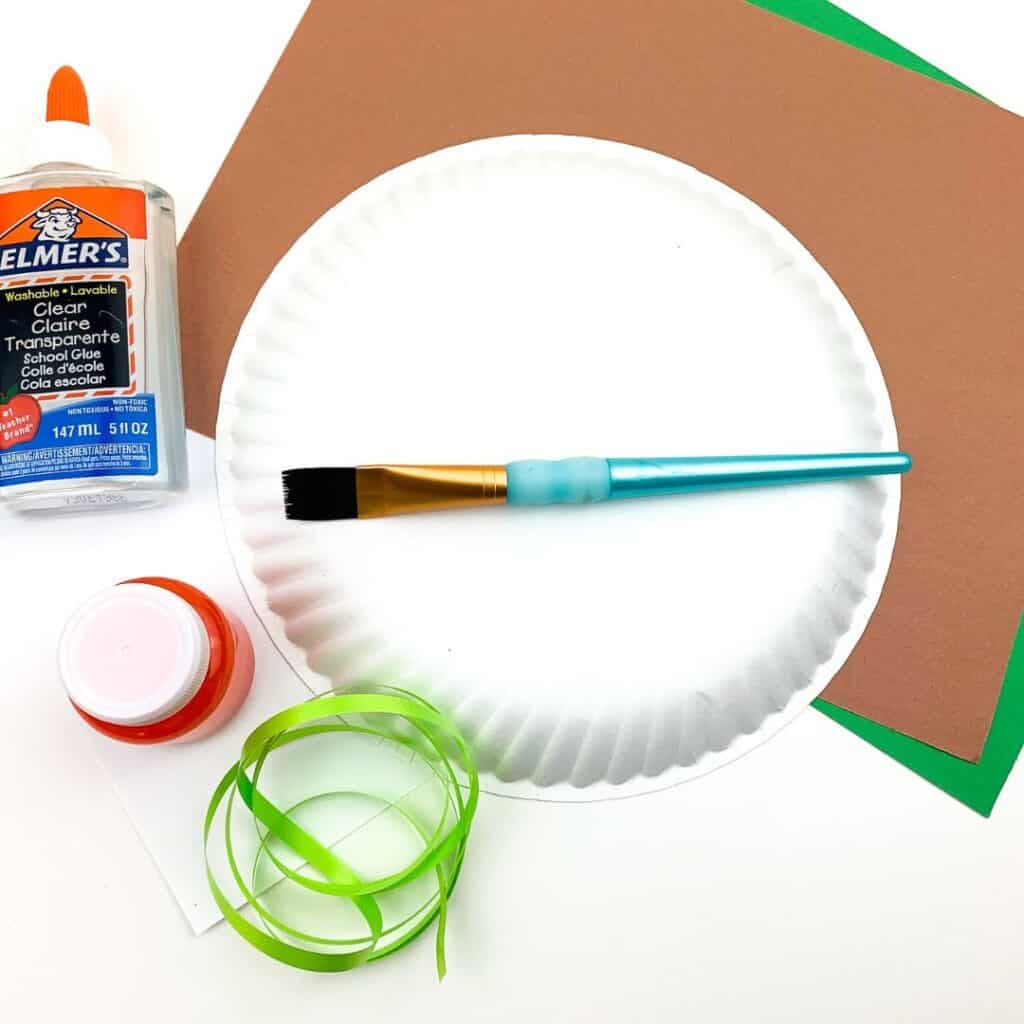
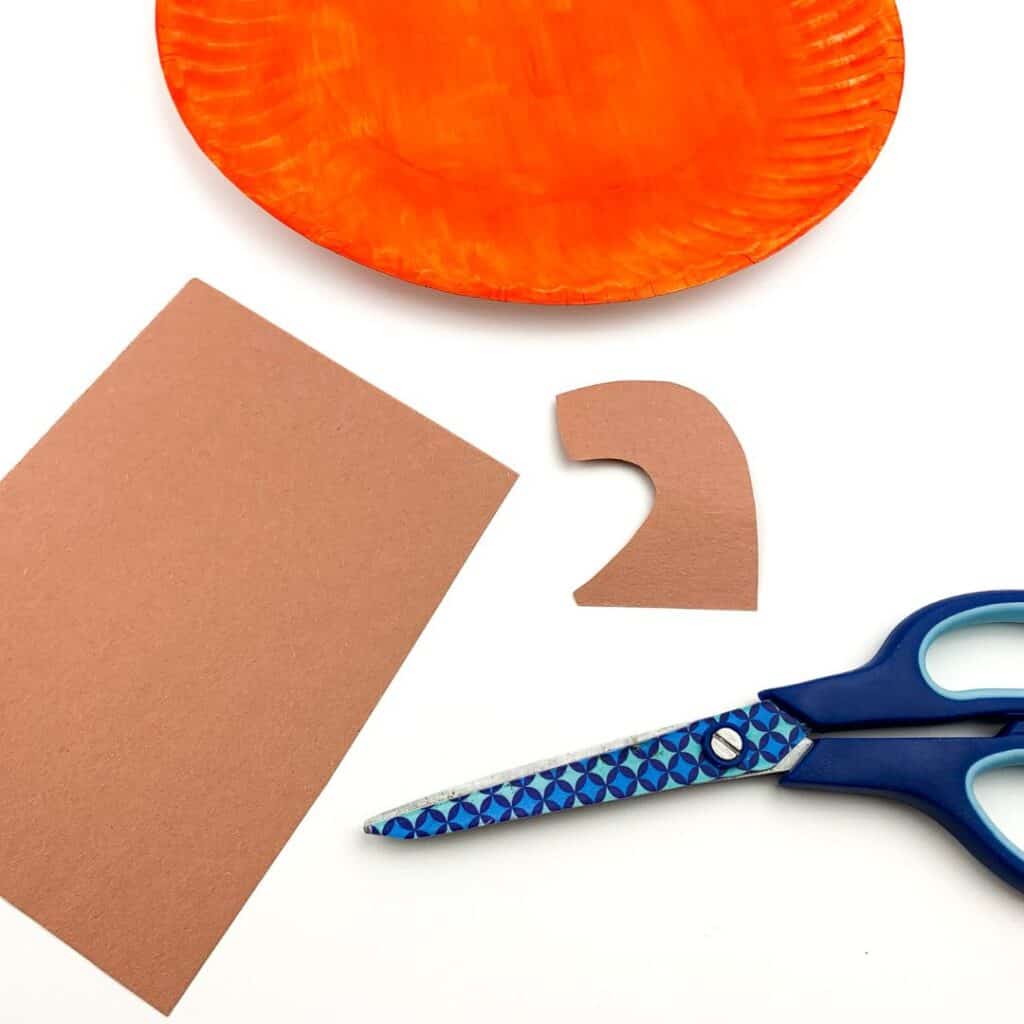
What You’ll Need
- Large white paper plate
- Orange craft paint
- Brown construction paper
- Green construction paper
- Green ribbon
- Glue (or hot glue gun)
- Paint brush
- Scissors
Prep Tip for Teachers: If you’re short on time or working with a large group, pre-cut the leaves and stems ahead of time. You can also have plates pre-painted or set up a drying station.
What You’ll Do
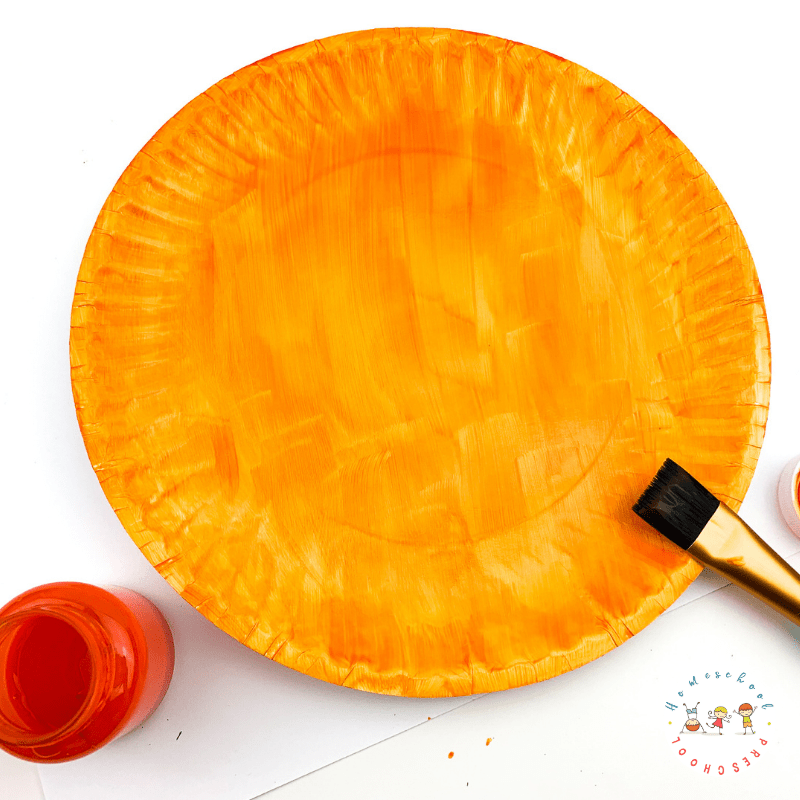
Paint the plate orange and let it dry. Kids can sponge or brush the color across the entire plate.
Cut out a green stem and leaf from construction paper. Let kids trace simple shapes or offer pre-cut pieces.
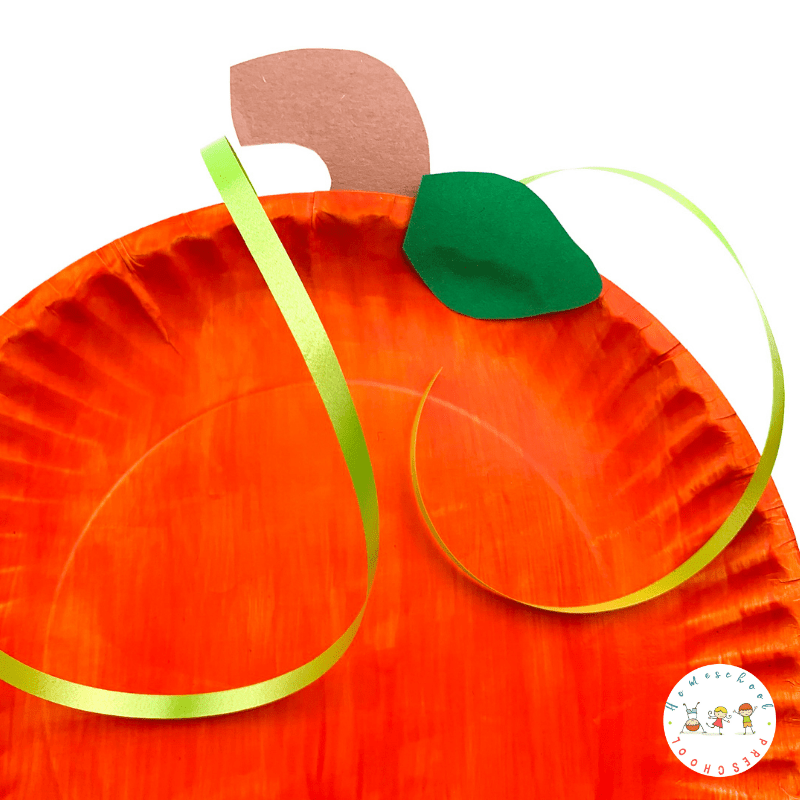
Glue the stem and leaf to the top of the plate.

Cut a piece of green curling ribbon and gently curl it using scissors (adults may need to help). Glue or tape it near the stem to create a curly pumpkin vine.
Decorate as desired! Add googly eyes, glitter, or stickers to turn it into a jack-o’-lantern or keep it classic.
Learning Goals & Skill Building
This paper plate pumpkin isn’t just adorable — it’s developmentally rich and full of opportunities for hands-on learning. As children work through each step, they’ll naturally build:
- Vocabulary building
Introduce words like stem, vine, curl, twist, and texture to enrich language during the activity. - Fine motor development
Painting the plate, cutting the stem and ribbon, and gluing the pieces all strengthen small hand muscles. - Color recognition
Discussing orange, green, and brown helps reinforce fall colors and descriptive vocabulary. - Shape identification
Children will work with circles (plate), rectangles (stem), and organic shapes (leaf, ribbon curls). - Following multi-step directions
Completing the craft in sequence encourages listening, focus, and task persistence. - Creative decision-making
Kids can choose how to decorate their pumpkins, add faces or extra features, and personalize their project.
Make It Your Own! (Variations by Age)
Here are easy ways to adapt this activity based on age and ability:
For Toddlers (Ages 2–3):
- Use finger paints instead of brushes
- Offer pre-cut pieces
- Limit steps and focus on the painting experience
For Preschoolers (Ages 3–4):
- Let them cut their own leaves/stems
- Introduce pipe cleaners as vines
- Offer extras like stickers or shape punches
For Pre-K and Kindergarten (Ages 4–6):
- Add jack-o’-lantern faces or name the parts of the pumpkin
- Create a 3D version by layering two plates with crumpled paper inside
- Extend with writing or drawing prompts: “What does your pumpkin do at night?”
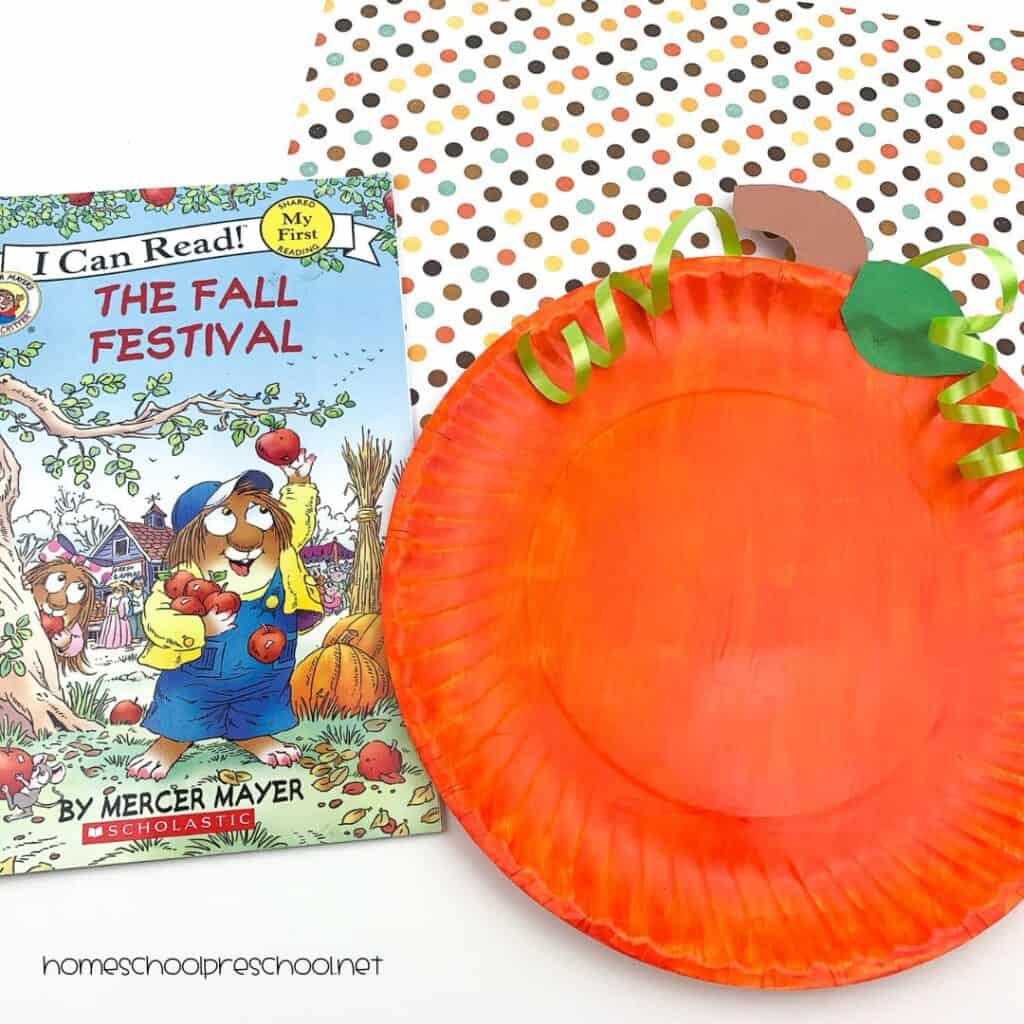
Fall Learning Connections
Want to go beyond art? Here’s how you can integrate this craft into your fall themes:
- Read Aloud Pairings:
- It’s Pumpkin Time by Zoe Hall
- The Roll-Away Pumpkin by Junia Wonders
- Pumpkin Jack by Will Hubbell
- Science Extension:
- Talk about how pumpkins grow (introduce seed, sprout, vine, fruit)
- Dissect a real pumpkin and compare parts
- Use vocabulary cards or sequencing worksheets
- Math Extension:
- Count the leaves, vines, or added decorations
- Compare plate sizes or weigh a real pumpkin vs. your craft
- Writing Prompt Ideas:
- “If I lived in a pumpkin…”
- “My pumpkin turned into a…”
- “The day the pumpkins marched through town…”
Display & Share
Create a pumpkin patch on your wall, hallway bulletin board, or refrigerator! Add your students’ names on the stems or let them present their pumpkin to the class or family.
This craft also makes a great addition to:
- Fall classroom doors
- October family nights
- Harvest-themed birthday parties
- Preschool learning portfolios
Crafts like this may look simple, but they’re packed with meaningful learning. Let your little ones take the lead, get a little messy, and enjoy the creative process. You’ll be surprised at how much they’re growing while they play.
Want more easy fall crafts and activities?
Subscribe to the newsletter and get seasonal freebies delivered to your inbox each week!
Pumpkin Paper Plate Craft
Equipment
- Glue (or hot glue gun)
- Paint brush
- Scissors
Materials
- Large white paper plate
- Orange craft paint
- Brown construction paper
- Green construction paper
- Green ribbon
Instructions
- Paint the paper plate orange. Set aside to dry. Once dry,
apply another coat if desired. Set aside to dry completely. - Cut a brown stem out of the brown construction paper.
- Cut a green leaf out of the green construction paper.
- Turn the paper plate over to the back and glue the stem on. Allow to dry.
- Turn the paper plate over to the front and glue the leaf
next to the stem. - Cut the ribbon into a 4-6 inch piece.
- Turn the paper plate to the back and glue the ribbon to the back. Once dry, you can use a strong piece of tape to make sure the ribbon stays secure on the paper plate. Use scissor technique to curl the ribbon.
- Display the pumpkin paper plate craft!

Tara is the brains behind Homeschool Preschool, where her journey from preschool and public school teacher to homeschooling mom of three fuels her passion for early childhood education. With a blend of expertise and firsthand experience, Tara’s writings offer practical tips and engaging resources to support families in creating meaningful learning adventures at home.