Dinosaur Craft
Unleash your child's creativity with our Dinosaur Craft activity! It's a fun, hands-on way to learn about prehistoric creatures while developing fine motor skills.
Print
Pin
Equipment
- double-sided tape
- Pencil
- Marker
- Scissors
- Glue
Materials
- cardboard
- construction paper
- chenille stems/pipe cleaners
- craft sticks
Instructions
- Cut a piece of cardboard to 3x5". Then, fold it in thirds to create a triangular shape.
- Paint the cardboard green or cover it with green construction paper.
- Cut the curved tip off of two craft sticks. Glue these to the bottom of either side of the triangle. Have the curved side up and the flat side to the bottom of the triangle. Now, your dinosaur has legs.
- Now, cut small triangles from another color of paper. Glue these triangles to the top of the cardboard triangle for your dinosaur's spikes.
- Wrap a chenille stem around a pen or pencil to make a coil. Glue one end to a top corner of the triangle base for the dinosaur's neck.
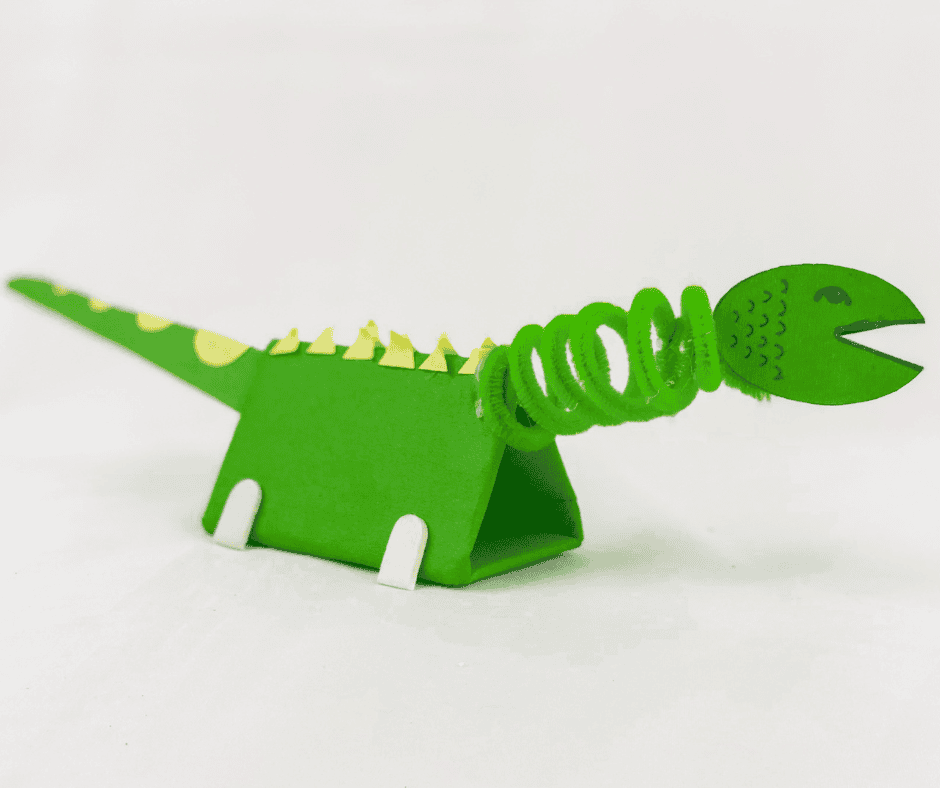
- Now, cut two ovals from a green sheet of paper. Draw an eye on each oval and a triangle slit for the mouth. (See the photo).
- Straighten the free end of the spiral and glue one oval to either side of the chenille stem for the dinosaur head.
- Draw a long triangle shape on the green paper. Glue or color spots on the tail to match the spikes on the dinosaur's back. Attach the long triangle to the carton for the dinosaur's tail.
- You're done!