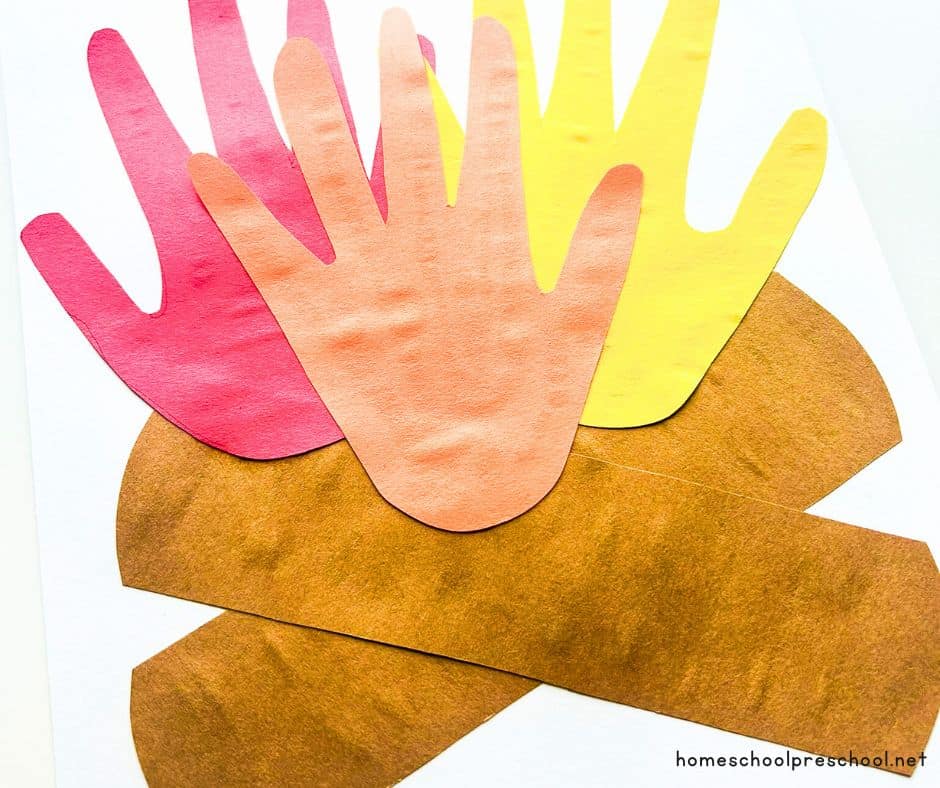
Handprint Campfire Craft
Create a fun and engaging handprint campfire craft with your preschoolers! This step-by-step guide uses simple materials to help kids explore their creativity while learning about camping. Perfect for preschool crafts and themed activities.
Print
Pin
Materials
- Construction paper red, yellow, orange, brown
- Scissors
- Glue stick
- Markers or crayons
Instructions
Trace Handprints
- Start by placing your child's hand on a sheet of yellow construction paper and tracing around it with a pencil.
- Ensure their fingers are spread out naturally to create an accurate outline.
- Repeat this step on the orange and red construction paper, resulting in one handprint on each color (yellow, orange, and red).
Cut Out Handprints
- Use scissors to cut out each traced handprint carefully.
- You should now have three handprints: one in yellow, one in orange, and one in red.
Draw and Cut Logs
- Draw two log shapes on the brown construction paper, each approximately 1-1.5 inches wide and 5-6 inches long.
- Add texture lines or patterns with child-safe markers to make the logs more realistic.
- Cut out the log shapes using scissors.
Prepare the Base
- Place a piece of white card stock on your work surface to serve as the base for your campfire craft.
- Arrange the two brown logs on the white card stock in a criss-cross pattern, forming an 'X' shape.
- Make sure the point where the logs intersect is slightly below the center of the paper to leave space for the handprint flames above.
Attach the Logs
- Use glue to affix the brown logs to the white card stock.
- Apply glue to the back of each log and press them firmly onto the paper in the criss-cross pattern.
- Give the glue a moment to set.
Add the Handprint Flames
- Begin with the red handprint. Apply glue to the back and position it on the criss-crossed logs, angling it so the fingers point upwards like flames.
- Next, take the yellow handprint, apply glue to the back, and place it next to the red handprint, with the fingers pointing upwards.
- Finally, take the orange handprint, apply glue to the back, and position it in the middle, slightly overlapping the yellow and red handprints.
Secure the Handprints
- Gently press down on each handprint to ensure they are firmly attached to the card stock.
- Allow the glue to dry completely before displaying or handling your handprint campfire craft.
Notes
- You can decorate the white card stock around the campfire with drawings of stars, trees, or a tent to create a camping scene.
- Write your child's name and the date on the craft to commemorate the activity.